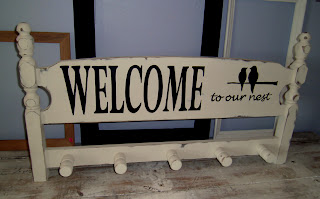
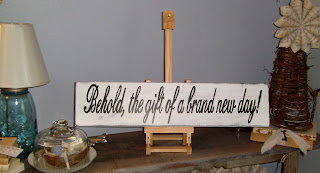
Hi Everyone! Sorry I disappeared for a couple of days. I've been working on a few projects but I don't have anything truly finished. I did a little bit of yard work yesterday. I have more to do. I've been working on a few paintings...a few signs...and that bench for my co-worker. I've been stuck on that bench. I had limited instructions but then again too many instructions and I just hadn't figured it out. But it finally came together today and I should finish it on Tuesday.
This is where I started...the most unappealing part but probably more important than the outer part...the supports and structure of the bench. I basically built two separate small benches and then put them together. I did it this way because the drawing I was given had that look on the end (see the pic below) where the legs had that space between them. And by making two smaller benches I could make it structurally sound and give it the look that my client wanted.
Then I wrapped the base with a 1"x 6" that I shaved down a bit and gave it a "finished" look on the ends. And then I put three 1"x 6" boards for the seat plus a board I cut down to 1 3/4" where the back will be attached. I had to clamp the last 1" x 6" board down since it had a bit of a twist to it and didn't lay completely flat on one end. Once the glue dries then the clamps will come off and the back can go on.
It's very structurally sound. As my mom would say, "It could hold and elephant." I think it can stand up to a couple of kids climbing on it.
And here's what the back is going to look like. It's just a solid back. This doesn't have the end pieces on it. I can't add the ends until I've attached this portion to the seat/base. The piece of plywood isn't attached yet either. I need to attach this frame to the last board that makes up the seat of the bench, then attached that to the base.
Then I can attach the end pieces of the back to the frame and the base. Clear as mud, right? Well at least I know what I mean. If I were making this for myself, I would add a cushion or upholster the seat and I'd upholster that piece of plywood inside the frame...but that's just me. I would also be painting the wood instead of staining it, but the client wants what they want. At least I don't have to stain it. Staining is my least favorite thing to do.
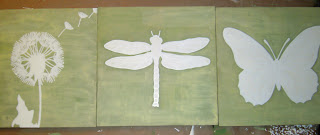
I've also been working on a trio of paintings for another client. Here's a peek at them. I'm not yet finished with them. This is not the best picture of them, you can't see the details and it looks more green than they really are.
And here are a couple of signs I'm working on for another client. I was hoping to have them finished earlier this week, but I ran out of my favorite outdoor sealer and had to order more. Nobody carries it around here and I did not have time to get anywhere that does have it, so I order it.
This is actually only one sign. I made it two-sided instead of making my client two separate signs. I still need to put the sealer on and the hooks or holes in it so it can hang and flip.
Don't they all look great together? I think they do and I'm pretty sure my client will love them. She's already seen pictures of the Daycare sign and she love it. So I think she'll be happy with the Open and Closed sign.
That's a little peek into what I've been working on. I've never had three separate projects take me so long to complete. My allergies have been going haywire lately. Plus there's been more mowing these last two weeks than I normally do (at the farm and at my parents). I feel a little off my game. I can normally get more done than this...maybe I can turn it around on Tuesday. I HAVE to start building up my inventory for the upcoming fairs and I have three more orders to work on. A cedar coffee table for a deck...a headboard bench....and a padded coffee table/storage box. I hope you have a great week. Thanks for stopping by.


